Monday, May 11, 2020

Let's Make A Planner Page!

Happy Mix Media Monday!! Karen Bearse here with a bit of a different project today. I thought it would be fun to make a collage planner page. My planner keeping is a bit sporadic but I wanted to make one documenting the month of May. With everything that is going on with Covid-19 it is a good way to take a snapshot of life in the time of a pandemic. I hope this post finds you safe & healthy.


This page is my title page for the month. Pulling out a bunch of different products it a great way to create! It is a busy so if you want to tone it down go for a more subtle background instead.  For a full tutorial with step out pictures go here. 


Let's talk about the awesome products that I used for this page. I started with collaging rice paper by Andy Skinner.

Next up some stencil work using Darkroom Door...  


using Glimmer Mist in Cherry Pie.


Then some background stamping using Prism Ink in Roasted Coffee & Smoked Paprika.


For the stamp Cogs was used. You need to check out Darkroom Doors Texture stamps for this technique- they have so many that would work. 


For the title I knew I wanted Story, story, story from Seth Apter's newest stamp ESA13. Love love this one!


Of course I had to heat emboss the title but which color  to choose? There are so many dynamic colors.  I did go with Boho Blends in Burmese Jade by Gwen Lafleur.


My tag was built with inspiration from Rachel Greig from a youtube flip through of one of her journals. The video is posted below. I chose to use the Steampunk Square set but there are quite a few to choose from.


I love looking at people journals. They are so fascinating to see how the artist designs. This flip is chock full of the stamps that are carried here at Topflight Stamps. You can find the tag at the 9:06 mark in the video. There is all sorts of inspiration in this video so I hope you take a look & say hi & subscribe to Rachel's channel. Thanks for joining me today & if you want to see the step by steps hop over to my blog. Have a great day & stay safe out there.

Friday, May 8, 2020

Summer Flowers

Happy May! Ericka here and I'm continuing our weekly theme of "Summer" with this fun flower card using PaperArtsy Zinski set.


This is such a fun set to color up. The main image is a cute elephant, but for the summer theme, I wanted to use the flowers.

https://topflightstamps.com/collections/paperartsy/products/paperartsy-zinski-art-38-rubber-cling-mounted-stamp-set?ref=xuzipf8pid


I colored them up with some bright watercolor markers and used the Katzelkraft Dreamer sentiment and heat embossed it with some WOW! Embossing.

https://topflightstamps.com/products/katzelkraft-dreamer-sentiments-unmounted-red-rubber-stamp-set?ref=xuzipf8pid


https://topflightstamps.com/products/wow-embossing-powder-trio-dockside-sara-naumann?_pos=5&_sid=9f73499f1&_ss=r&ref=xuzipf8pid

Thanks for stopping by and I hope you have a wonderful weekend. For more details on how I created my card stop by my blog Strangely Creative.


Thursday, May 7, 2020

Summer Cocktails

Hi Everyone,

Cornelia here today! And our theme this week is summer. What could be more refreshing on a hot day than a cool drink?


I made my background with watercolor paper and dylusion sprays. I stamped the glass and treated it with bleach - it becomes bright white and you can then color it any way you want. You may want to test it first - It does not bleach all inks.... I colored it then with markers. Stamped the sentiment. It loosely translates into "relax". Added a strip of patterned paper and the little gems.


I hope you liked this! See you next week with more Topflight Stamps inspiration.

Here are the stamp supplies I used:

Wednesday, May 6, 2020

Dare to Swim


Hello, Topflight Fans.  Today's card features an underwater scene using Visible Image Dare to Swim. I've loved this stamp set for a long time and am so excited to be using it today.


I stamped the jellyfish and seaweed on one of my acrylic pour pulls, embossing afterwards.  I then used Wink of Stella to add the gold accents to the jellyfish.


I added some dots using Prism Ink Canary Yellow and Olive Green with the Visible Image Two Tone Stencil. I embossed this as well.


Next I used a WOW! embossing powder for the fish and sentiment. This stuff is amazing--it has different weights of powder in it so you never know what you're going to get. Love!


I'll be back with you next week. Until then, why don't you check out the new products that have come into the TFS shop!  You can shop your heart out using this 12% off coupon!

You can also check out my other creations by visiting my blog, Frankie Helps Craft, my Instagram, or my Pinterest Board.

Tuesday, May 5, 2020

Penguins on Summer Vacation

Greetings! It's Kathi here with two summer-themed cards featuring the fun and fabulous new Penguins Unmounted Rubber Stamp set by Katzelkraft. This set features seven adorable penguins enjoying themselves.

Here's my first card, who is body surfing on a warm summer day. 


The penguin was stamped onto white cardstock and masking paper. I fussy-cut the mask paper image and placed the mask over the penguin on the white cardstock. The bottom of the image was covered and Periwinkle Prism Ink, Pink Jellybean Prism ink, and the lightest yellow from the Yellow Ombre Prism inkpad were sponged over the clouds portion of the Great Outdoors 6x6 Stencil by Polkadoodles. When I was happy with the "sky", I covered it up and sponged two colors of Distress ink over a wave stencil from my stash. 

All stencils were lifted and the penguin was colored with Copic markers. Two clear dimensional droplet stickers were adhered to the image panel and white dots were added behind his flippers. The image panel was trimmed, matted on black cardstock, and adhered to a blue A2 card. The sentiment sticker was added to complete the card.

Here's the second card using my new Katzelkraft Penguins stamp set, together with a sandcastle, cottages, and a sentiment from the adorable beach-themed JOFY #16 Rubber Cling Mounted Stamp set by PaperArtsy.

This time the penguins are playing in the sand. The poor penguin on the right got a bad sunburn on his tummy. Poor dear!


The penguin on the right was stamped onto white cardstock and onto mask paper. The mask paper version was fussy-cut and placed atop its counterpart. The standing penguin was stamped onto the image panel and onto mask paper, which was fussy-cut, and placed over its counterpart. This step was repeated with the sand castle, then with the row of beach cabanas. 

When all masks were in place, the bottom of the image was covered and Periwinkle Prism InkPink Jellybean Prism ink, and the lightest yellow from the Yellow Ombre Prism inkpad were sponged over the clouds portion of the Great Outdoors 6x6 Stencil by Polkadoodles. When I was happy with the "sky", it was covered and sand-colored ink was sponged over the bottom part of the image panel to create a sandy beach, Distress ink was sponged under the penguins and sandcastle to ground them a bit. 

All masks were lifted and the images were colored with Copic markers. Additional shading was added to the "sand" with a Copic marker, then a few poorly drawn beach plants were added with a green fine liner pen. Silver metallic pen was used to color the cottage doorknobs and the horseshoe. 

The image panel was trimmed and double matted. The sentiment was stamped onto sand-colored cardstock, then the card was assembled as shown.

If you'd like to learn more about my cards, please pop over to my blog, Kat's Tales of Stamping!

Topflight Stamps Products Used:


Thanks for visiting today! See you next Tuesday!

Monday, May 4, 2020

AALL & Create Blooming Birthday Cards


Hello friends!  It's Autumn Clark from SewPaperPaint with you today to share a couple of bright and cheery birthday cards featuring the AALL & Create Blooming Field stamp set and the Cloister Grille stencil.  


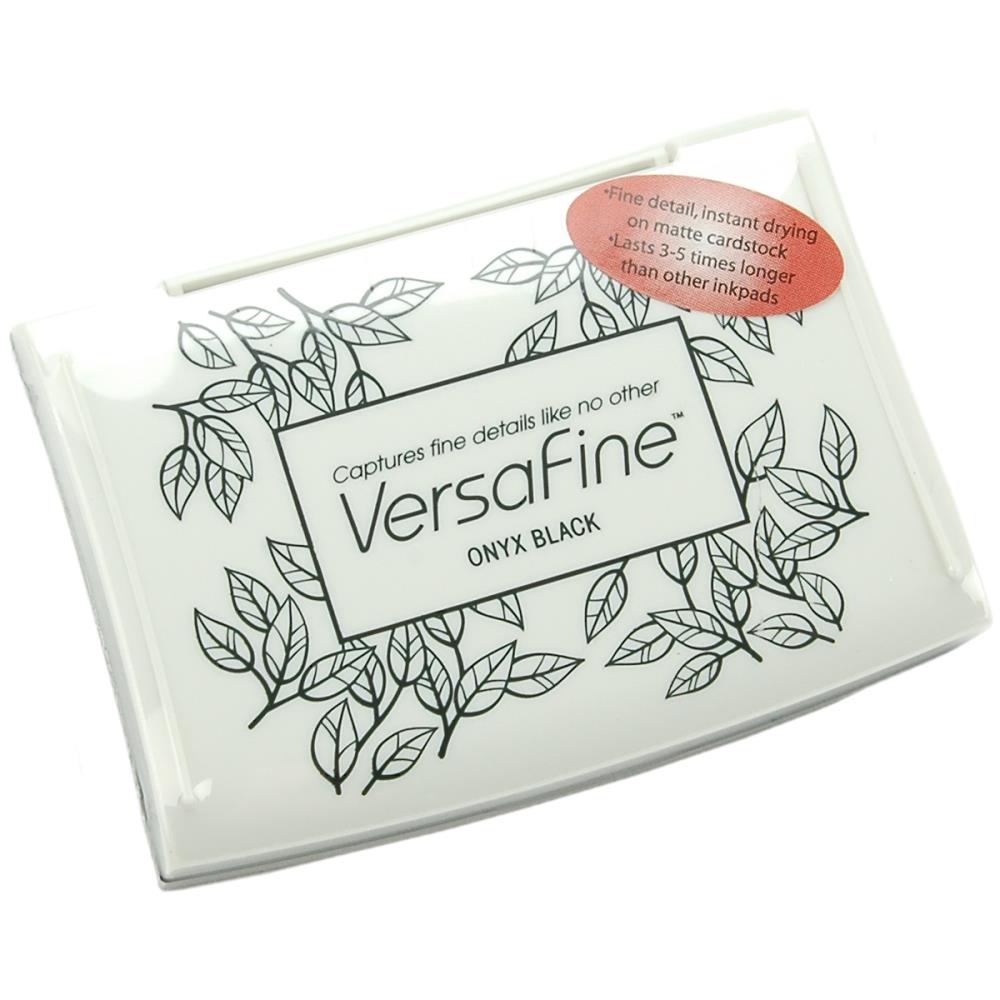
I cut out portions of my favorite gel plate prints, which were made with craft paint and the Cloister Grille stencil.  To get this effect, I laid the stencil onto wet paint on my gel press, then used a scrap paper to lift the paint in the open spaces of the stencil.  I then removed the stencil, allowed the paint on the plate to air dry and covered with a layer of white paint to make the pull.  I stitched around the square panels with my sewing machine and used portions of the Tracy Evans Fritillaria stamp in coordinating Distress Oxides and Versafine ink to add some texture.  


I stamped and fussy cut two of the flowers from Olga's Blooming Field stamp set.  I used Zig Markers to color the images.  I used an octagon die to cut the paper I used to lift paint from my stencils in printing.  It had all sorts of colors and patterns from a day of play and made a unique base for the floral motif.  I edged the octagons in black ink.  


I finished each card with a sticker sentiment, edged with some doodles, and contrasting mat.  I hope these bright and cheery cards will be a blessing to my friends with summer birthdays.  I hope they have inspired you today!


Find these beautiful products at TopFlight Stamps today!


Friday, May 1, 2020

Darkroom Door Warm Wishes

Happy Friday! I hope you are having a good week. Ericka here and today I'm playing with a couple sets from Darkroom Door to make two cards.


I love this Warm Wishes set and was inspired by a class I took from Rachel Greig at Darkroom Door when I was at Creativation this January, which by the way seems like it was so long ago, back when the world was normal.


https://topflightstamps.com/collections/darkroom-door-australia/products/darkroom-door-warm-wishes-red-rubber-cling-stamps?ref=xuzipf8pid


I often make lots of backgrounds and I had two leftover from a previous project and thought they would make a good background for my cards.


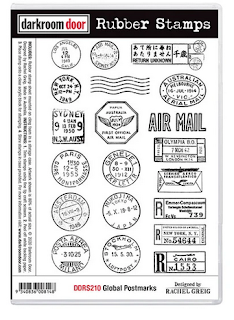
I also used the Number Medley and the Global Postmarks to add some fun to my backgrounds.

https://topflightstamps.com/collections/darkroom-door-australia/products/darkroom-door-number-medley-red-rubber-cling-stamps?ref=xuzipf8pid
https://topflightstamps.com/collections/darkroom-door-australia/products/darkroom-door-global-postmarks-red-rubber-cling-stamps?ref=xuzipf8pid

I love the unique look and how easily it is to mix and match these stamps on a card. I also played with some Lava Paste which gives a puffy texture once heated with a heat fun.


https://topflightstamps.com/products/cosmic-shimmer-andy-skinner-lava-paste?_pos=2&_sid=745ae52de&_ss=r&ref=xuzipf8pid


For more information on how I created my cards, stop by my blog Strangely Creative.

Thanks for stopping by and have a great day!

01 09 10