Friday, September 18, 2020

Carabelle Studio Pretty Little Witch

Ericka here making a fun Halloween card using Carabelle Studio Pretty Witch. Have you started making your Halloween cards yet? This set is perfect for a not so scary card.


This is such a cute stamp set and I love the pumpkin and spider web that is also included.


 To find out how I created my card, stop by my blog Strangely Creative for more information. Have a wonderful weekend and I hope you have a chance to get crafty!


Thursday, September 17, 2020

Halloween with Lavinia Stamps

  Hi Everyone,

Cornelia here today! 
This week we are featuring Halloween cards. Just my thing!


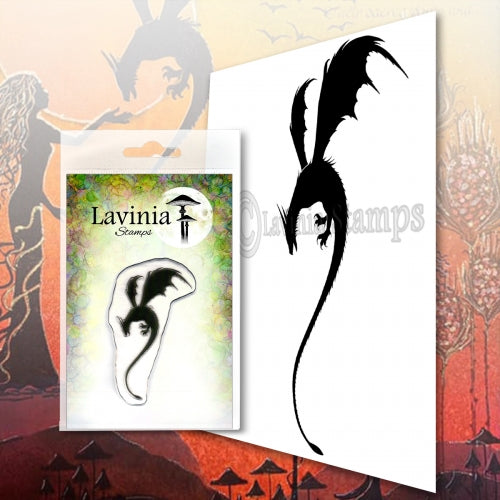
I first stamped the moon in silver and heat embossed it. Probably was not the right way to start, but I got around that mistake. I masked it. I sponged my background. I then stamped all the animals and trees. The dragon I stamped with Staz-On ink, because of the heat embossing. Added white gel pen accents and water/bleach splatters. 


It's Halloweenish enough, right?
I hope you liked this! See you next week with more Topflight Stamps inspiration.
Here are the stamp supplies I used:
Use code FUNSTAMPING to get 12% discount at Topflight Stamps.
https://topflightstamps.com/products/lavinia-three-woodland-mice-clear-polymer-stamp?_pos=1&_sid=4b4dfcb85&_ss=r

Wednesday, September 16, 2020

Skull Spiders


It's getting all spooky up on in this house!  LOL. Halloween cards are so fun, especially for those of us who love a good scare.

I started both cards using the Creative Expressions Redemption Stencil on the card base. The first (white) I sponged using Prism Ink Blackcurrant Jam, Purple Velvet, and Olive Green.  For the black one, I used white pigment ink.


I then embossed the That's Crafty Skull Bugs spider using Wow Perissa embossing powder and fussy cut it out. Yes, both spiders use the same powder so this just shows you the variation.


For the black and spatters I used the Pronty A4 Grunge Objects Stencil.


I'll be back with you next week. Until then, why don't you check out the new products that have come into the TFS shop!  You can shop your heart out using this 12% off coupon!

You can also check out my other creations by visiting my blog, Frankie Helps Craft, my Instagram, or my Pinterest Board.

Tuesday, September 15, 2020

Happy Halloween!

Hi there! It's Tuesday, which means that it's Kathi here to share a card with you. This week my TFS teammates and I are sharing Halloween projects! 


Skull N Roses was stamped onto white paper and onto removable label paper. The label paper version was fussy-cut to create a mask, which was placed over its counterpart on the white paper image panel.

A ruler was placed over the top part of the image and the bottom part of the image panel was sponged with Gathered Twigs Distress ink. The ruler was moved to cover the bottom part of the image panel and the top part of the image panel was sponged with Milled Lavender Distress ink. 

The Berry Stencil was placed over the top part of the image panel. Then Milled Lavender Distress ink was sponged over the stencil, onto the image panel.

The stencil and mask were lifted and the image panel was heat set. 

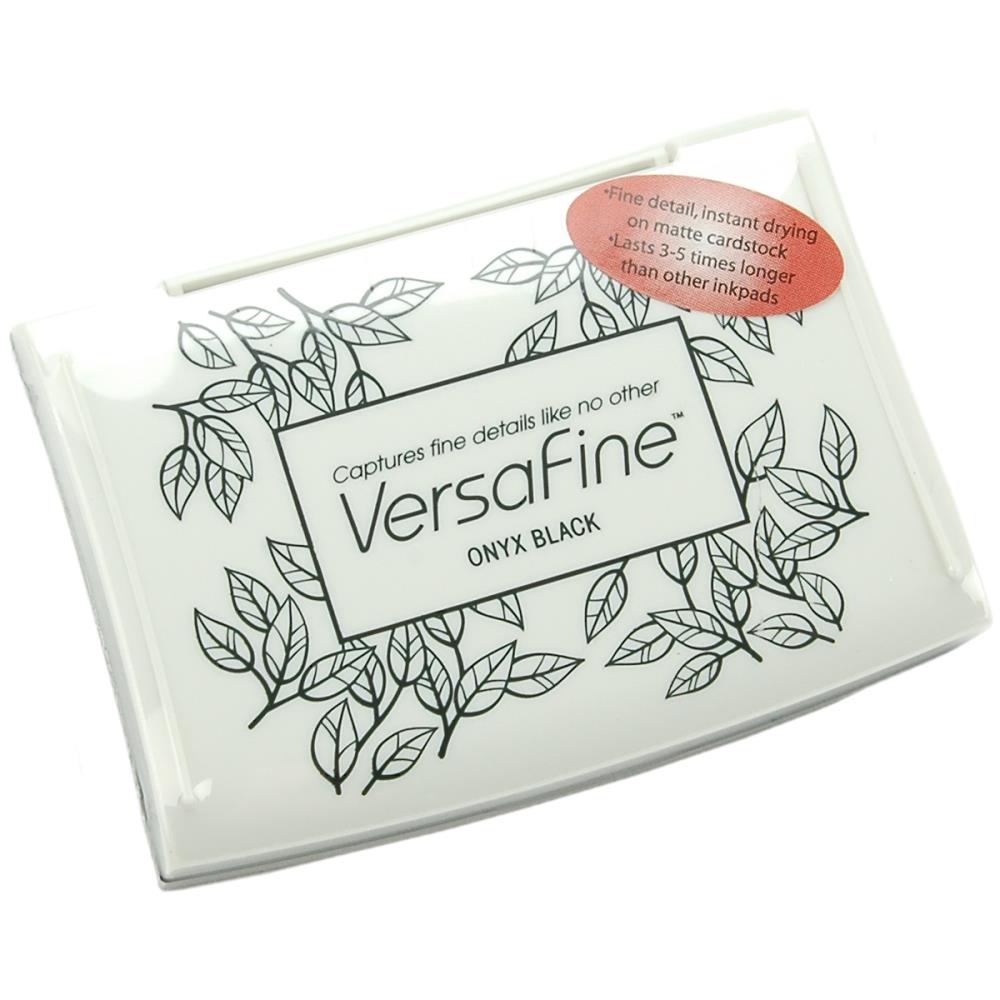
Barric the Crow was then stamped onto the skull using Onyx Black VersaFine ink and heat set.

The Skull N Roses image was colored with Copic markers, as was the table top. 

The spiderweb border stamp from the Skullduggery Borders Cling Mounted  Rubber Stamp Set was stamped with White Hybrid ink then again with Hickory Smoke Distress Ink. A white gel pen was then used to touch up the spider web.

The image panel was trimmed to 4.75" x 6.75" and edged with Black Soot Distress ink. It was adhered to a black 5" x 7" card. The sentiment stickers were added to complete the card.

For more information about my card, please pop over to my blog, Kat's Tales of Stamping


Topflight Stamps Products Used:


Thanks for visiting today! See you next Tuesday!

Monday, September 14, 2020

Halloween Fun with PaperArtsy

 Happy Mixed Media Monday!!! This week the Design Team is creating some Halloween fun!

Karen Bearse here with a mini art journal page, as I creep along in my #100dayproject. It was fun though & I love how much the canvas piece adds to the project. So simple yet packs a punch.

This PaperArtsy Halloween set is fun & yet creepy at the same time! You can find it here ZA16. 

These Prism Inks add this grungy look when used with a stencil & spritz of water. 

Adding a fern stamp for a bit of background interest is a good idea. 


Markers always add a color punch to any project like these Prism Brush Markers!  For more step out photos & a tutorial you can check out my blog here! I hope you have a chance to check back & see what the rest of the team are making this week!

Friday, September 11, 2020

Visible Image Snow

 Happy Friday! I hope you are all doing well. Ericka here with a quick winter card using the Visible Image Snow Is Falling set. It's never too early to start those Christmas cards.


I love this grungy snowflake and the fun sentiment included in the set.


I used the PaperArtsy In the Navy Infusions for the background along with some Distress Oxide Ink in Blueprint Sketch along the edge.


For more information on how I created my card, stop by my blog Strangely Creative. Thanks and have a wonderful day!


Wednesday, September 9, 2020

Flower Garden


Hello, Topflight fans! Toni again with you today, this time with a mixed media yet rather simple little card.

I started the card by sponging Prism Ink Apple Green and Rainforest Green as well as Distress Oxide Tumbled Glass onto the card front.  


I then stamped the Darkroom Door Grid Background with Prism Ink Wild Mushroom and spattered a bit of that color as well.


Next I stamped the Hobby Art Garden Flowers image using Versafine Sepia onto mixed media paper then watercolored it with Prism Ink Cinnamon Swirl and Canary Yellow.  I darkened up the centers and added additional lines using Prism Markers Forest Walk.


Take a closer look at that stamp set.  The flowers are stunning, aren't they?

After coloring up the floral image, I embossed it with UTEE twice before sprinkling on just a touch of Hunkydory Prism Pearlescent Powders Set 1 gold onto the center of each flower while the UTEE was still warm (so the powder would stick).


While the UTEE was still malleable, I pressed the stamp carefully onto the stamped and embossed image.  I let it still for 60 seconds until I was sure the UTEE had sufficiently cooled.  I was easily able to peel off the stamp, leaving a lovely impression.

Note I discovered that as I reheated the UTEE to let the gold powder sink in that I could "push" the gold around using the heat gun. Look how happy it made the little bee so have so much pollen to munch on.  


My last step was to adhere the images to the card base and stamp the Polkadoodles Sentiment with Versafine Onyx Black.


I'll be back with you next week. Until then, why don't you check out the new products that have come into the TFS shop!  You can shop your heart out using this 12% off coupon!

You can also check out my other creations by visiting my blog, Frankie Helps Craft, my Instagram, or my Pinterest Board.
01 09 10