Showing posts with label feather. Show all posts

Saturday, July 31, 2021

Darkroom Door Shrink Plastic Charm Chalkboard Card


Happy Saturday friends!  It's Autumn Clark from SewPaperPaint with you today to share a fun boho inspired card with you.  I embossed the Arrows background stamp by Darkroom Door onto chalkboard paper using Ranger's Pearl embossing powder.  I chose the Wander sentiment stamp by Darkroom Door for my focal point, stamping it onto a lightly inked die cut panel.  Then I thought it would be fun to have something hanging, so I stamped the Darkroom Door Feather onto shrink plastic with Staz-On.  I haven't done this in years and years and it was such fun to try again.  I hope you're inspired to dig out your shrink plastic and have a play at making some charms with your stamps.  Hugs, Autumn


 Find these fab stamps at Topflight Stamps:


Monday, September 21, 2020

Tracy Scott Floral Feather Stamp Mixed Media Tag


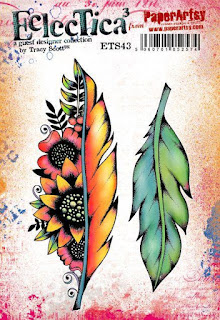
Happy Monday stampers!  It's Autumn Clark from SewPaperPaint with you today to share a couple of mixed media projects based around the new PaperArtsy mixed media feather stamp set by Tracy Scott, ETS43.  This stamp is wildly popular, so if you find it is unavailable on the Topflight Stamps website, make sure to sign up to be notified when it comes in.  


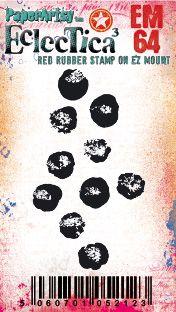
I had an idea of a cascading tag book with the feather as the bottom, leading up to one of Tracy's butterfly stamp.  I chose ETS22 and used the flowers from the set to fill in my middle layers.  I stamped each design on a sheet of gel printed paper (I used my 8x10" plate for these prints).   I taped a tag die in place and cut to the point of each stamp design where I thought it would cascade nicely.  I used leftovers to stamp portions of the images to pop out.  I will share a flip through video on my Instagram (@sewpaperpaint).  I used some of Tracy's mini stamps to add more pattern to the tops of each tag.


This is the card I made for you the week before last, but didn't get a chance to post it here to the TFS blog because we were on a last minute vacation.  I used the same stamp set by Tracy, this time using both feathers, layered for a boho look.


I know we all face the problem when playing with our prints that some portions of our prints are just better than others.  Here you can see how I took a variety of pieces and layered them together to make my card background.  The end result is filled with texture!  So save those scraps and do piecework when you can.  Thanks so much for joining me today.  Have a creative week!  Hugs, Autumn


Topflight Stamps Goodies (Click to shop)


Monday, April 8, 2019

AALL & Create | Combing Metallics with Jenny

Hi everyone and welcome to the Topflight Stamps blog!


It's Jenny here,  and today I'm using Rose Gold glitter paste with a gorgeous AALL & Create Mosaic stencil to create my background.

I laid down the stencil over the top of some pale pink cardstock and smoothed the Rose Gold glitter paste over the top, making sure to line up the stencil so that the pattern was even on all sides. I then set it aside to dry.


While they panel was drying, I thought it would be fun to combine metallics, so I die cut the Jane Davenport Fair Feathers die from silver mirror cardstock. When the panel was dry, I adhered it to the background using a strip of foam tape in the centre.


I needed a large sentiment to cover up the foam strip, so using a panel of slightly darker pink cardstock, I heat embossed this sentiment from Katzelkraft's Fun Quotes - Darkside in Rose Gold embossing powder, to co-ordinate with the background.


I die cut it with a deckle edge frame and then popped it over the feather with more foam tape.


You can check out my blog for more details on the supplies I used. Have a great day!

Monday, October 29, 2018

Jane Davenport Sparkle Feathers

Hi Everyone, and welcome to the Topflight Stamps blog!  It's Jenny here, and I have a pretty card for you today that uses some of the new Jane Davenport goodies that Topflight Stamps now carries.   Today I'm using the Fair Feathers dies and the new Sparkle Markers


Here's a look at the die set I used.  I also used the Jane Davenport sparkle markers and Rina Barakat embossing powders which are also carried by Topflight Stamps.

To create my project, I first die cut each of the feathers from grey cardstock.  I heat embossed three of them by dunking them in Versamark embossing ink and then scattering embossing powder over them.  I used gold embossing powder, and Rita Barakat powder in Kiss of the Fairy and Mermaid Fin.   On the last (and largest feather) I colored it in with the sparkle markers in three different colors. 


I die cut a panel of white card stock with a stitched rectangle die, and then flicked water onto it, which I heat embossed with gold and Mermaid Fin embossing powder.  I adhered the largest feather directly to the stitched rectangle, and then bundled the other three by wrapping gold twine around the stamps, and then adhering them directly over the main large feather. 

The sentiment is by Creative Expressions - Showered with Love (One of my faves!) and was stamped in black ink.  I adhered the entire panel to a white cardbase with fun foam to finish the card.

Have a wonderful day everyone!


Monday, July 30, 2018

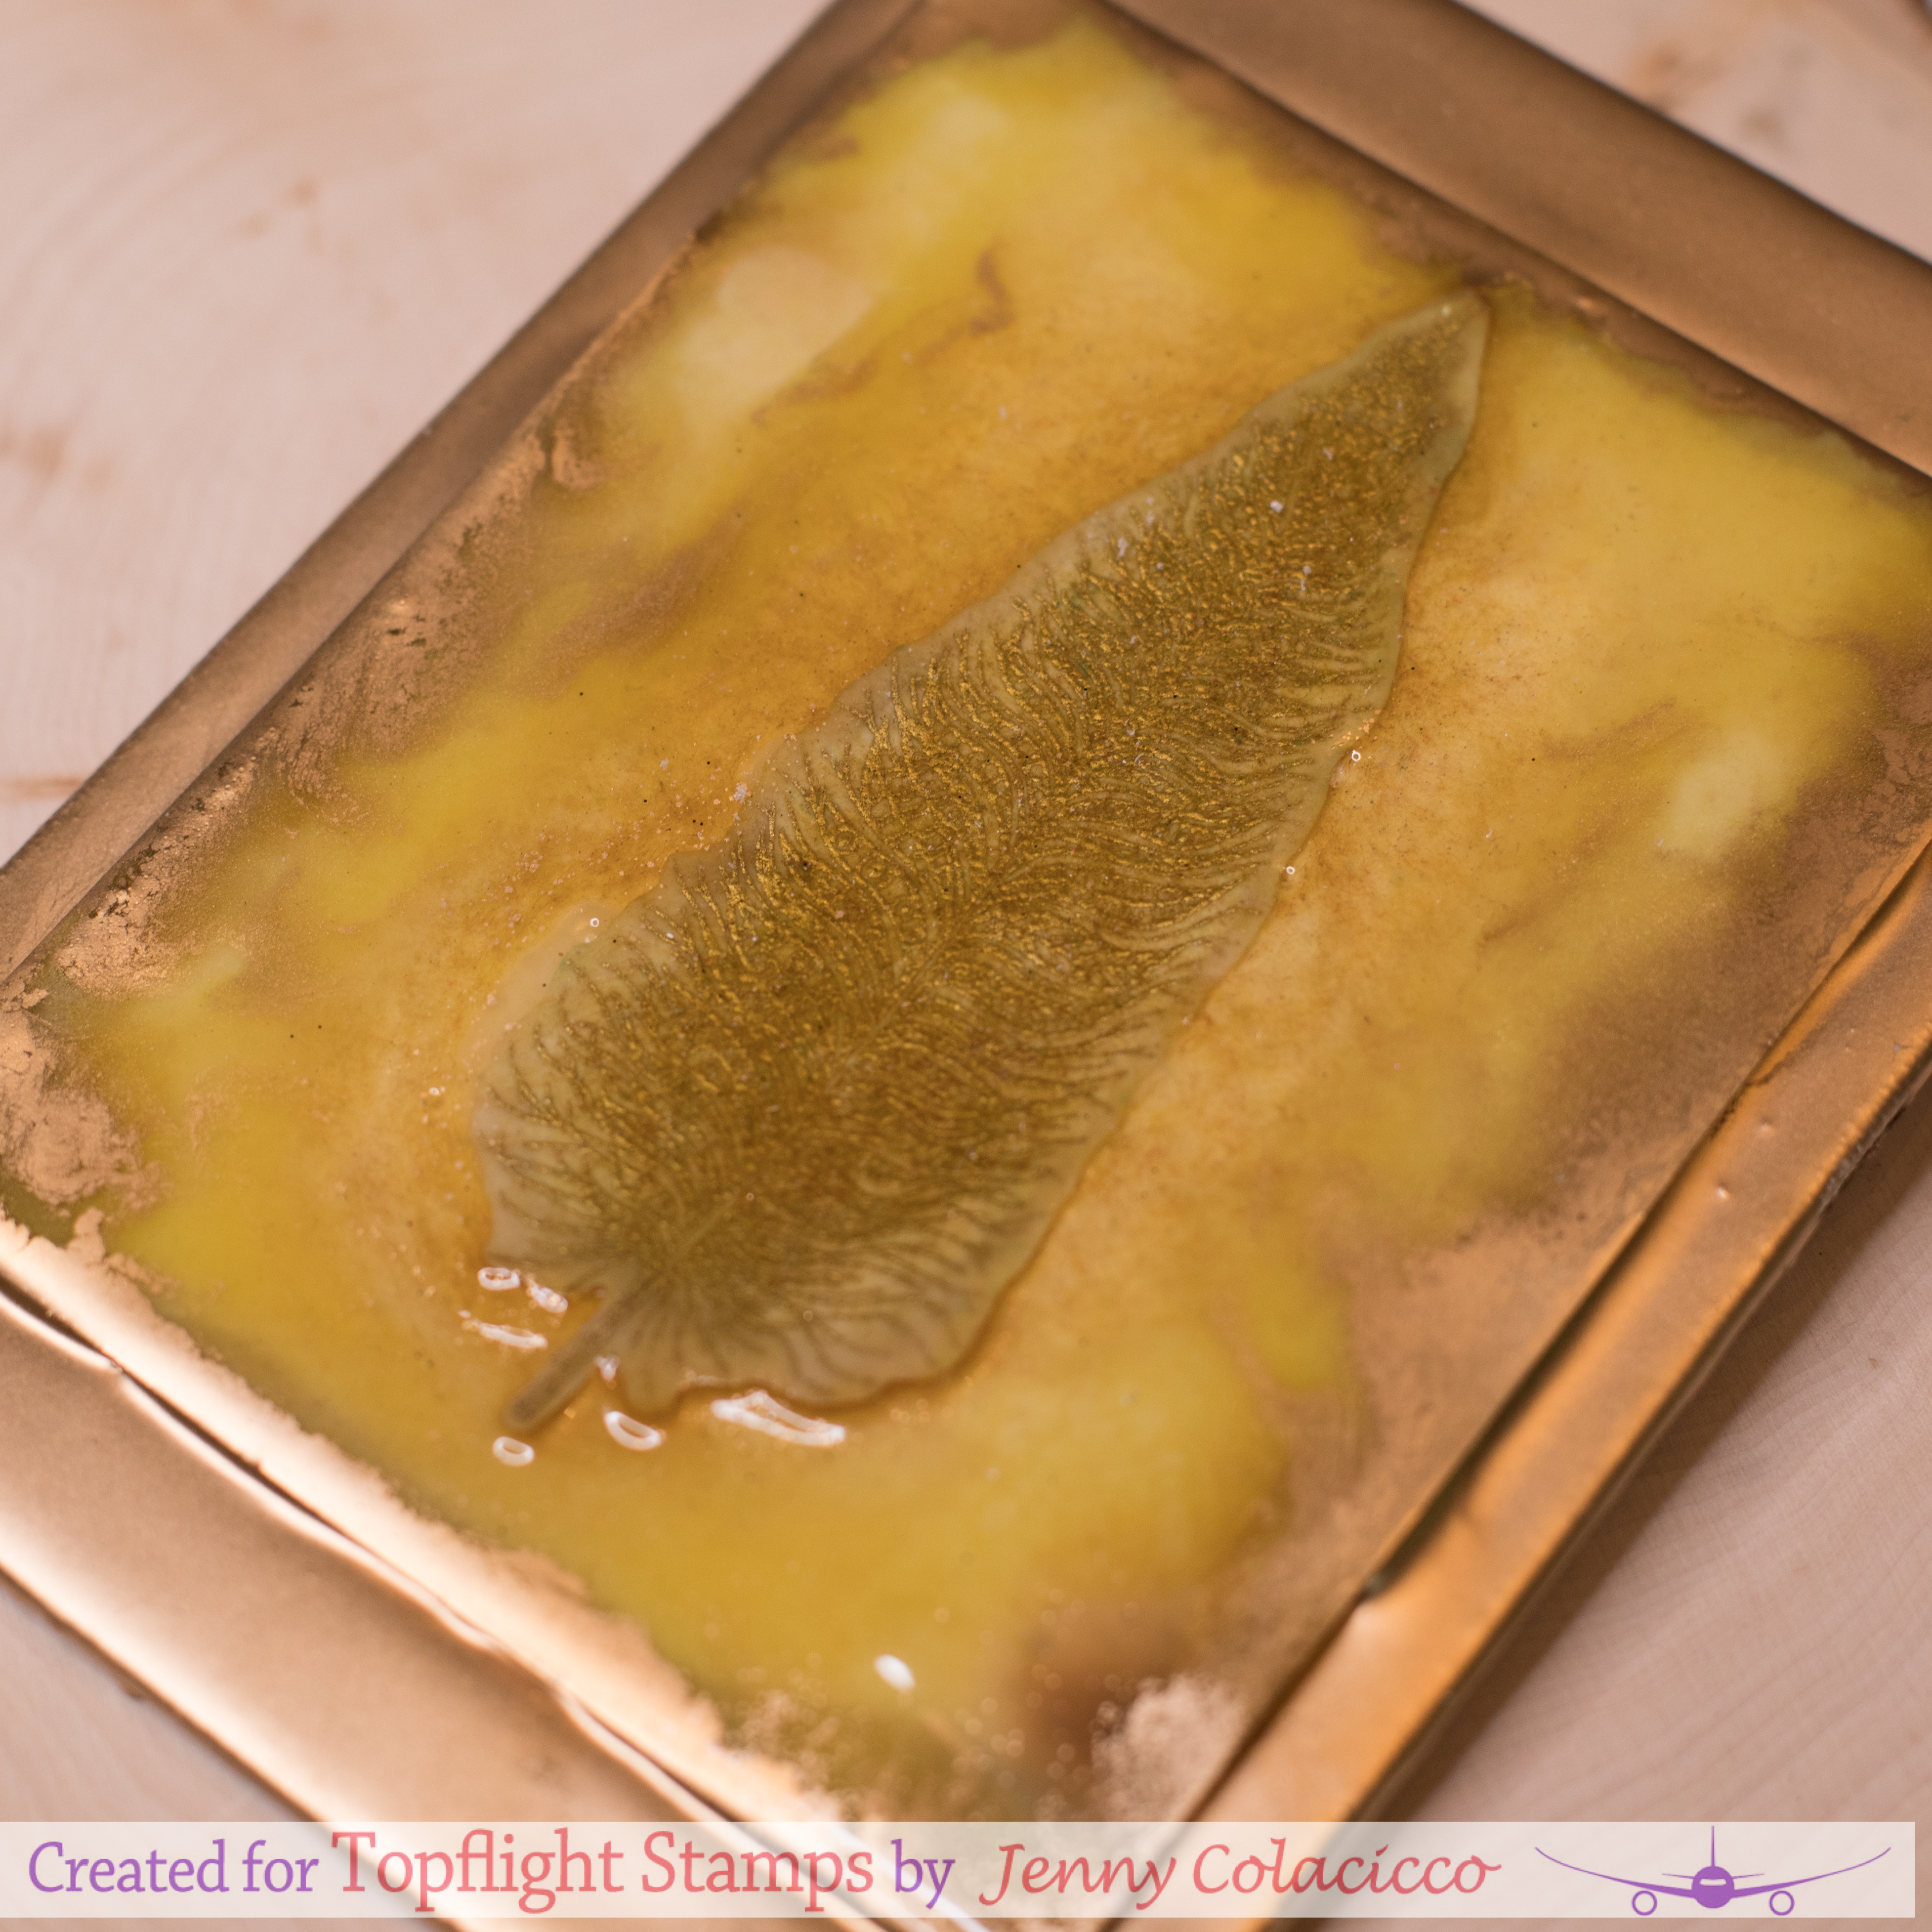
Seth Apter and Lavinia Stamps | Trapped in Amber Art Panel

Hi Everyone and Welcome to the Topflight Stamps blog.  It's Jenny here, I have used some of the new range of embossing powder by Seth Apter and a stamp by Lavinia to create another small art panel.


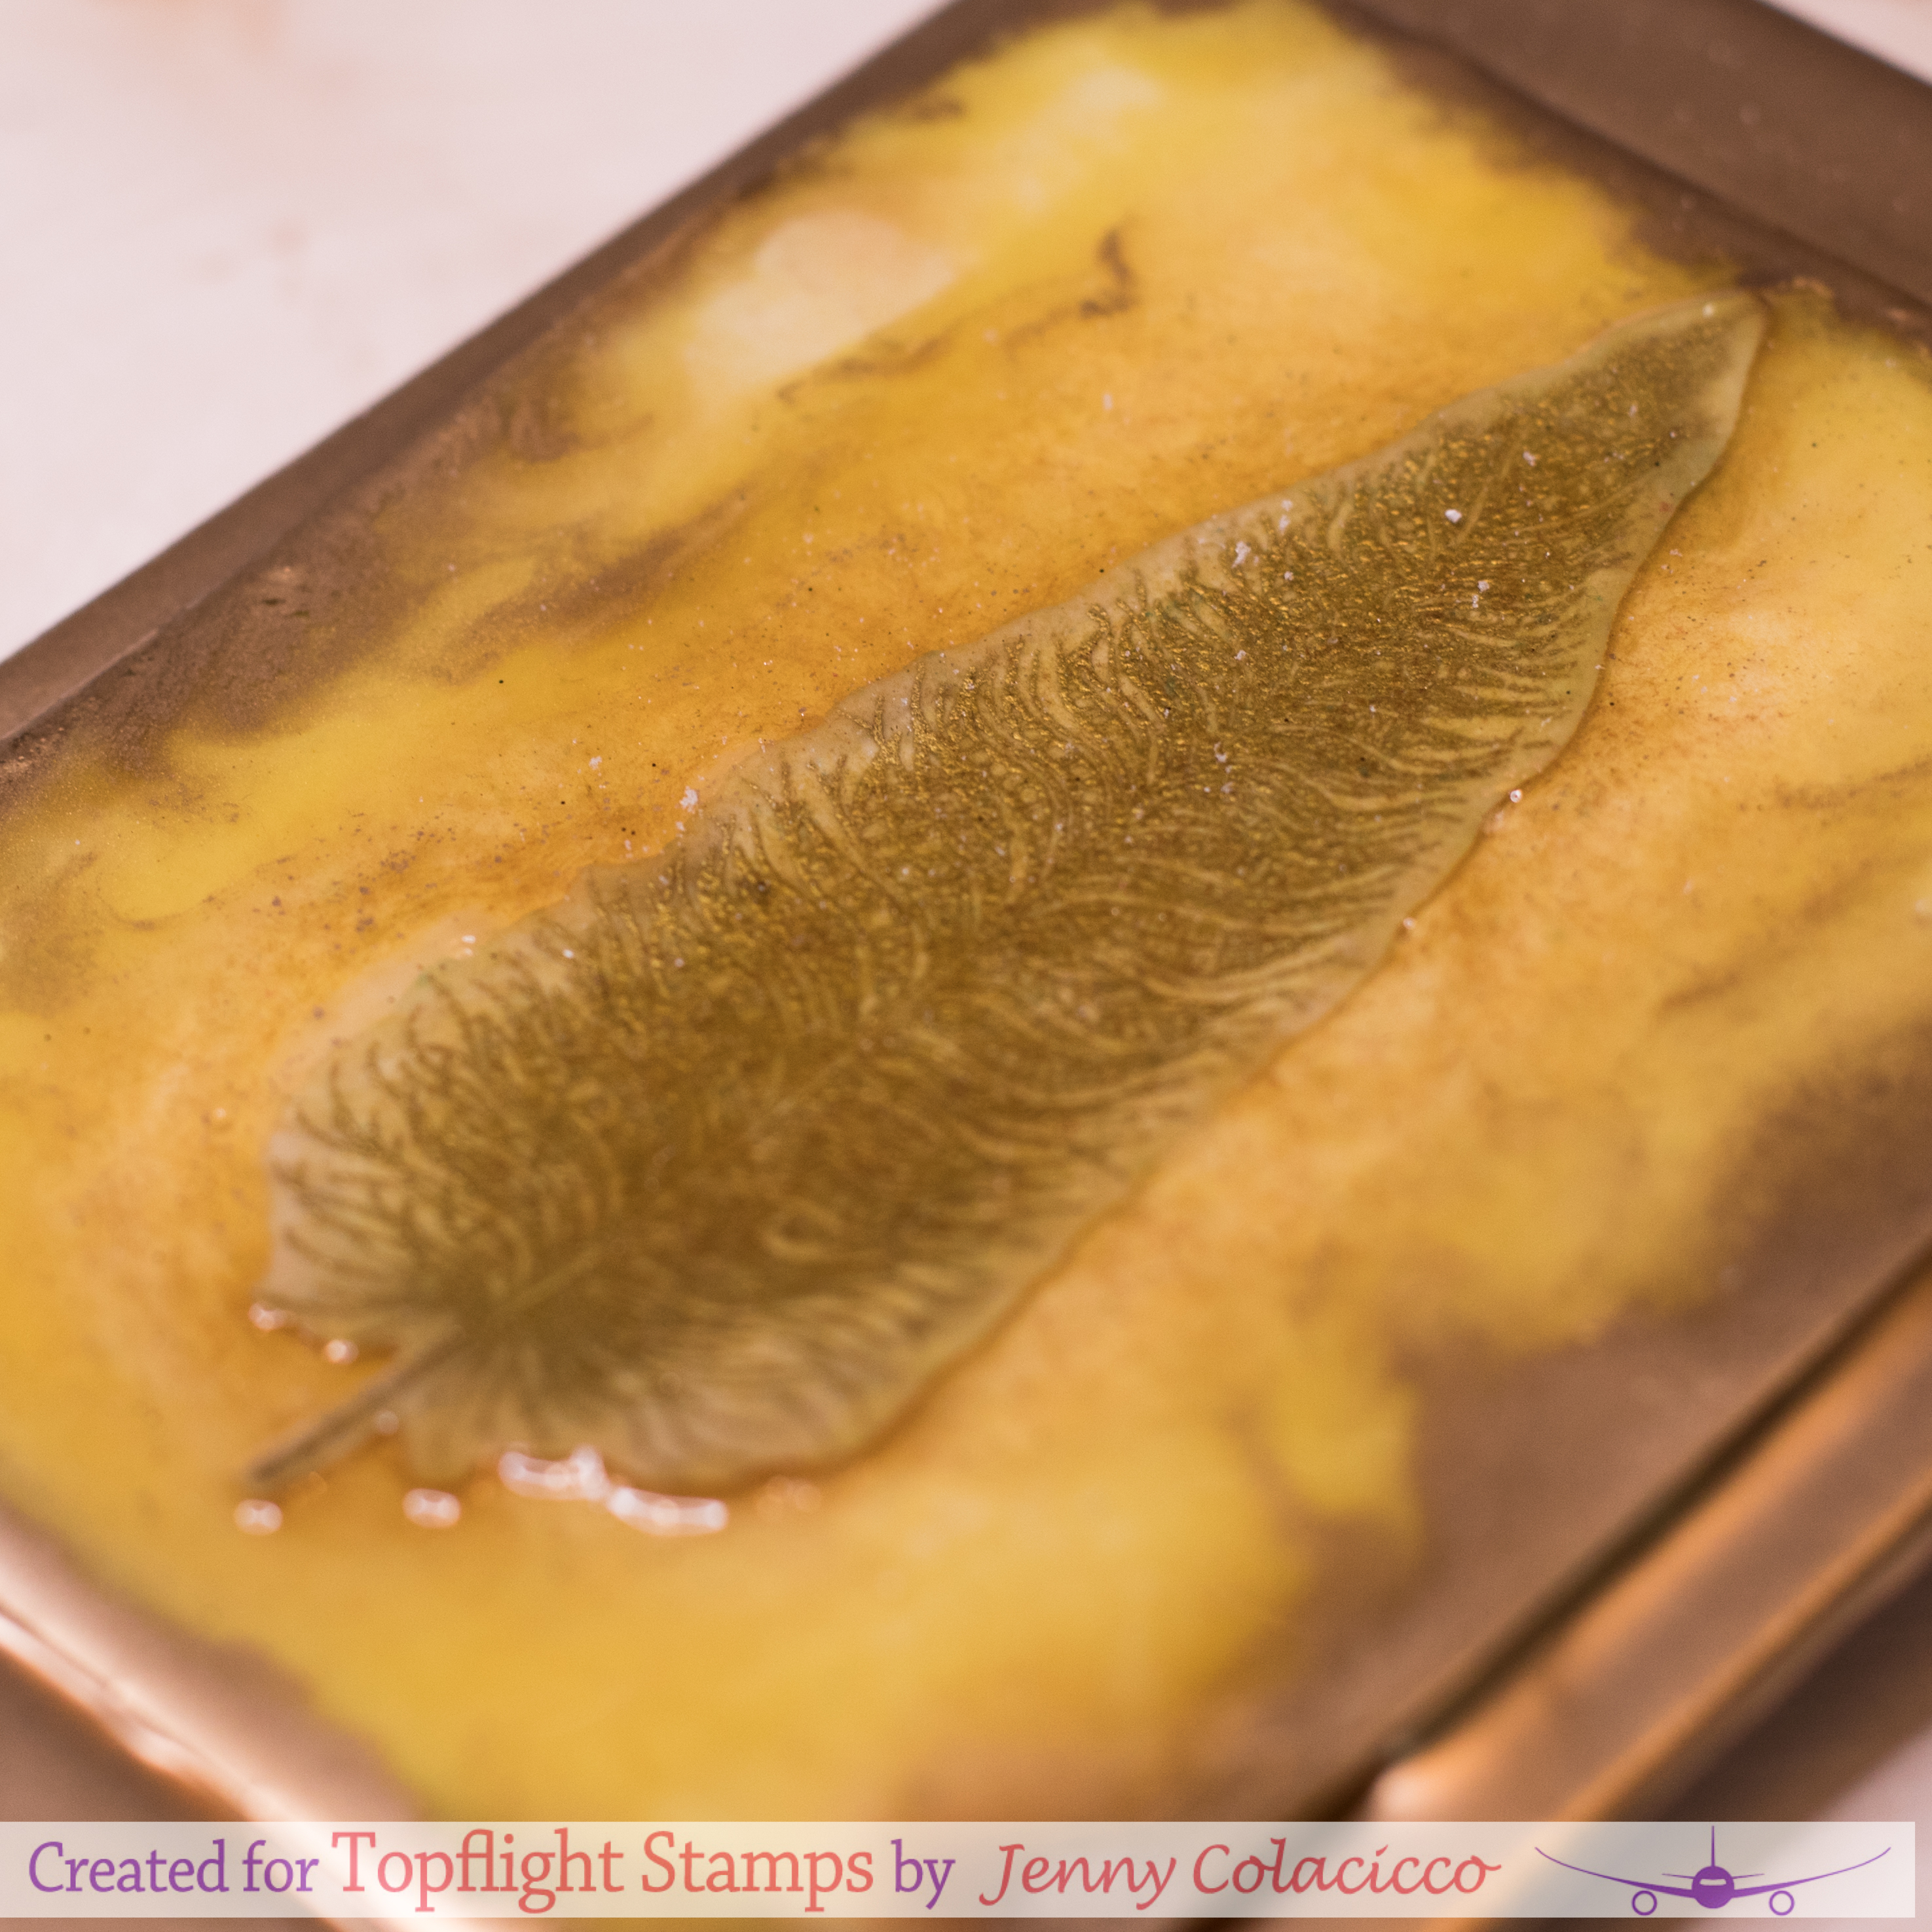
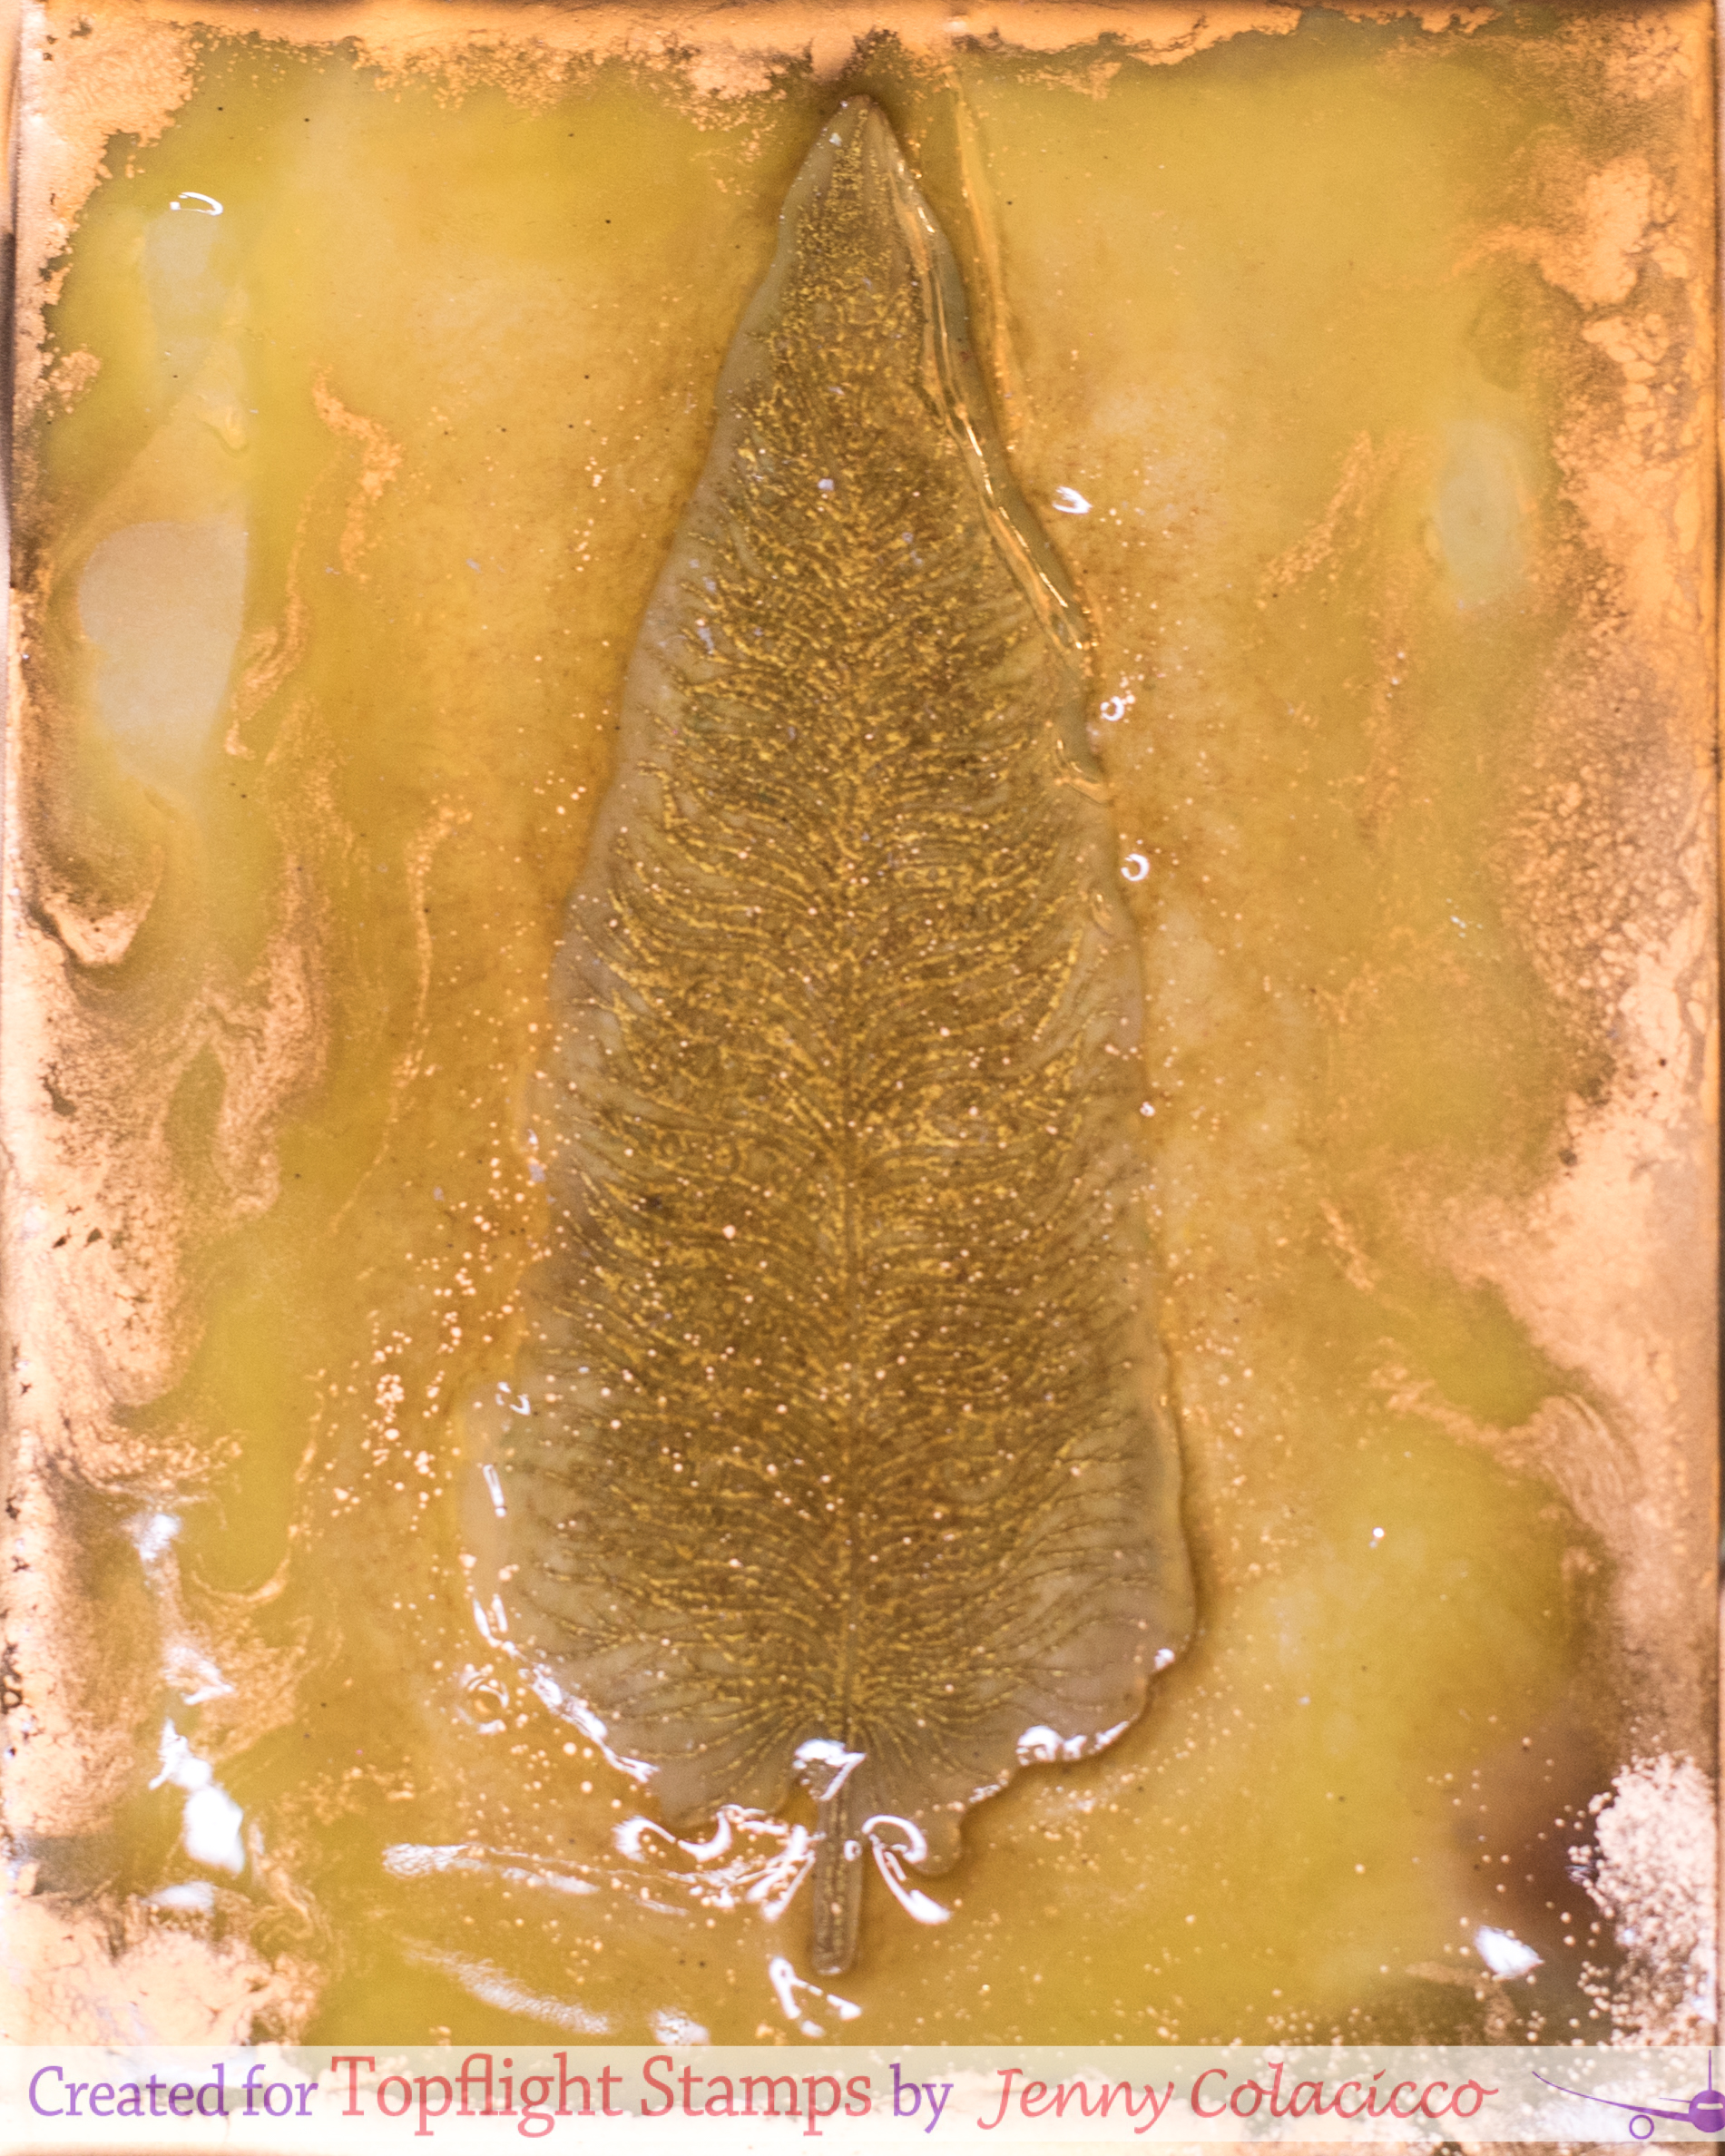
The embossing powder I used is the Ancient Amber powder by Seth Apter.  It gave me the idea to create an art panel with an 'object' trapped in amber.  


I used the Feather stamp by Lavinia which is beautifully delicate and detailed.


I stamped the Feather image in a clear embossing ink (I used Versamark) onto thick white cardstock and heat embossed it in Antique Gold embossing powder.  


When cool, I trimmed it out, and adhered it with a hot glue gun onto a white panel of cardstock.  You could also adhere it directly to the canvas board (I'd recommend that).


I then coated the entire panel with embossing ink and added the Amber embossing powder.  I did many layers to get a very thick coating almost level with the feather itself.  I then adhered the panel to a canvas board and coated the edges with embossing ink again and added the antique gold embossing powder.  After several coats and heatings you'll notice the embossing powder starts to blend with the amber.  It gives a fab look.  As a finishing touch, I added a few layers of clear embossing powder.

I hope you like it!!  This is a fun project and I'm definitely going to be trying something similar again soon!  You can find more details on the supplies I used over on my blog.  Have an awesome day.
01 09 10