Monday, May 23, 2022

Welcome Little One with Craft Emotions

 Spring and Summer are the perfect seasons to create baby cards. This is Rachel from rwkrafts.com and I'm sharing two sweet baby cards featuring stamps and stencils from Craft Emotions.


I created these cards uses the adorable stamp set "Baby Girl" by Craft Emotions. I started by stamping every image and coloring with my Polychromos pencils. I fussy cut the images with my detail scissors.


To create the starry background I used a Craft Emotions Starry Sky stencil with Cosmic Shimmer Paste and Wow! Embossing Glitter in Coconut Ice. 


I also created a second card using all blue and the tiny star and heart stamps available in the set.
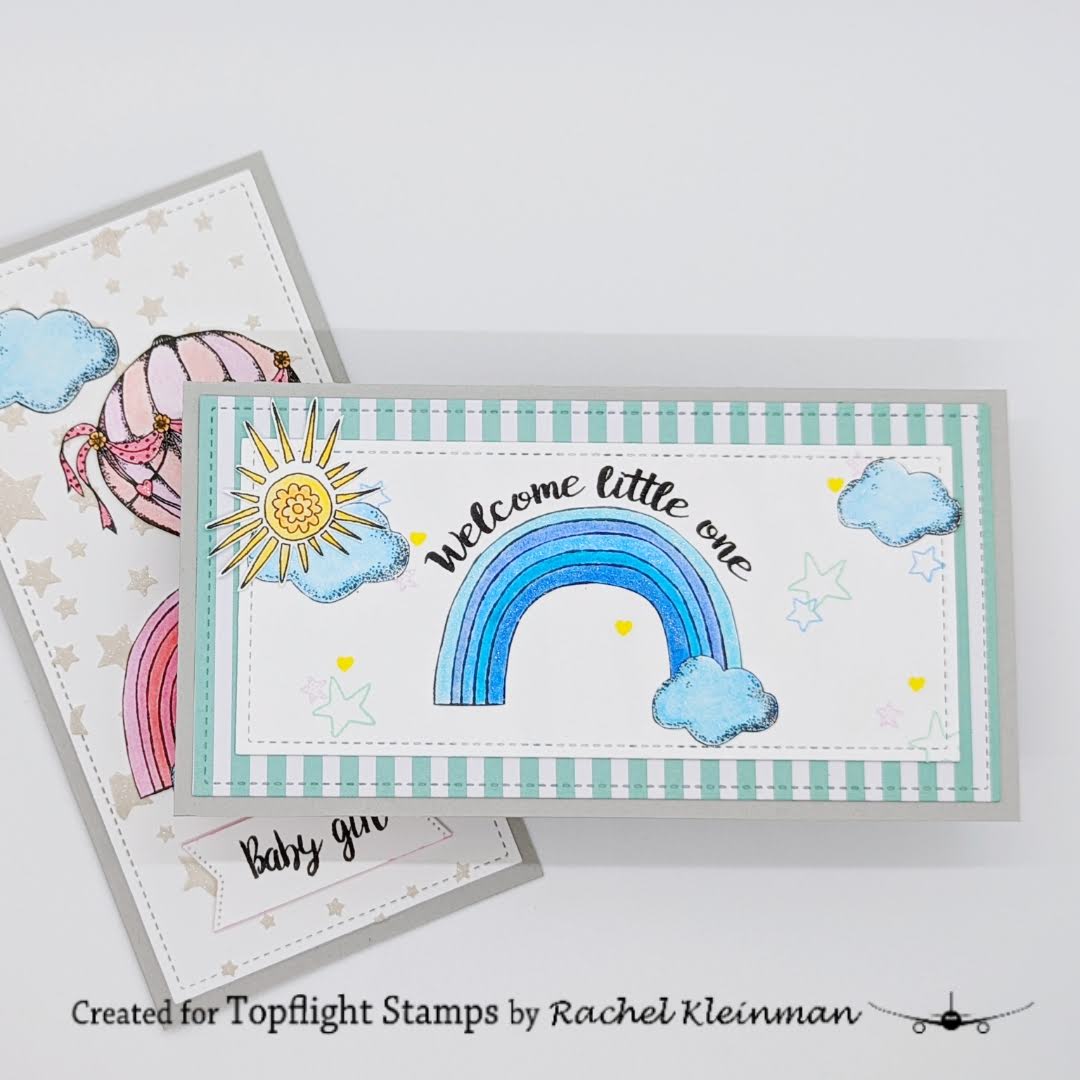

The background was stamped with the tiny images using a variety of ink colors from Prism Ink.


Have a very creative week ahead. Thanks for stopping in!

Topflight Stamps Supplies Used:


Sunday, May 22, 2022

Big Dreams

Greetings! It's Kathi here with a card created for a recent graduate with stamps by Visible Image.


I started the card by stamping the gorgeous woman from the Beautiful Soul Clear Polymer Stamp Set onto white cardstock and onto repositionable label paper. 

The image was colored with Copic markers.

Nocturne VersaFine Clair Ink by Tsukineko was used to stamp the three sentiments onto the woman's hair and heat set.

I then realized that the "kind hearted" sentiment was very close to the right edge of the hair, so I used Copic markers to extend the hair. 

The label paper version was fussy-cut and placed over its counterpart on the image panel and brush or sponge Blue Lagoon Elements Ink by Lavinia Stamps over the masked image. 

 Nocturne VersaFine Clair Ink was used to stamp the butterfly from the Nothing to Wear Clear Polymer Stamp Set and the splotches from the 99% Chance of Wine Clear Polymer Stamp Set as shown.

Pink chalk pencil was used to add a touch of blush to her cheeks, her ear lobe, and her shoulder. A small black pearl was added to her ear lobe as an earring

The image panel was trimmed, edged with a black marker, then adhered to an A2 card.

Please pop over to my blog, Kat's Tales of Stamping, for more detailed instructions and a complete supply list. 

Topflight Stamps Products Used:


Thanks for visiting! See you Tuesday!

Friday, May 20, 2022

Summer Ocean Card


Hello crafty friends! Ericka with Strangely Creative here and today I have a quick summery ocean card I made using Darkroom Door and Visible Image.  I started by stamping the Darkroom Door Frame Stamp Burnt Edge. I then made a mask of the stamp so that I could create an ocean scene around it.


I then took the Visible Image Ride The Waves stamp and used Hunkydory Prism Brush Markers and colored the waves in different blues and stamped them multiple times. I also stamped the sailboat included in the set and colored up the sky.

I then stamped the Darkroom Door Open Sea quote stamp in Versafine Claire Medieval Blue and clear heat embossed it. I love this quote and the curly script.

Thank you for stopping by and I hope you have a wonderful weekend dreaming of the sea!

 Topflight Stamps Supplies


Thursday, May 19, 2022

AALL&Create - Tea makes Everything Better

    Hi Everyone,

Cornelia here today. This week it's anything goes on the Topflight blog
I love those stamps by Janet Klein from AALL&Create. I am trying to grow my collection......
I used a water colored background and stamped the tea leaves on it in a random pattern, using a lighter and darker green. I stamped the girl on scrap paper and colored her with Copics. Cut her out. Stamped put the sentiment and tea bags and arranged everything on my card.

I hope you liked this. Thanks for visiting. 
See you next week with more Topflight Stamps inspiration.

And here are the stamp supplies I used: 

Wednesday, May 18, 2022

Be awesome today! - A quick gel print tutorial


Good Morning!
Do you have a gel plate but are too afraid to use it? Or have you seen people print on paper and always wondered how they get the different colors to shine through all the layers? Here is a quick tutorial that will take less than 10 minutes to create a project.

Products used:

Carabelle Studio - Stencil/Mask - Birgit Koopsen - Leaves in the Wind


Quick steps:

1. Apply blue paint to the gel plate


2. Wipe away the blue paint showing through. 
Apply yellow paint over the stencil.


3. Let this dry and then apply the paint that will pull the whole print off the plate. I used white. Apply a thick enough layer to cover the plate but thin enough to see the image press through. 


4. Add some markings with a paint pen for interest and dimension. I couldn't quite get the "pop" I wanted, so I placed the stencil back onto the image and applied distress oxide to the stencil.


5. I used a die to cut the frame/border, and applied black soot Distress Oxide to the edges. I finished the card by adding a sentiment to the bottom.


Isn't this such a cool card? And quick?? I found a stamp in the store with the same image as this stencil.


I hope you have a great day!!
Charmaine


Tuesday, May 17, 2022

Birthday Shaker Card

 Greetings! It's Tuesday so you've got Kathi here to share a project with you. I was feeling groovy, so I decided to channel my inner flower child and create a birthday shaker card.

Here it is!


I started by stamping the sweet hippie chick from the Little Hippie Clear Stamp Set 511 by Janet Klein for AALL and Create onto white cardstock. She was colored with Copic markers, fussy-cut, edged with a dark marker, and set aside.

The next step was to brush Violet ChalkDella Blue, and Confetti Elements Inks by Lavinia Stamps over the Awesome Medium Stencil by Darkroom Door onto Mixed Media cardstock. This panel was trimmed to 5.5" square, edged with the same Elements Inks, and set aside.

A piece of the Mixed Media cardstock was cut with the smaller of the two dies from the Scalloped Rectangle Frames Die Set by Paper Rose. The frame portion was brushed with the Violet ChalkDella Blue, and Confetti Elements Inks

The same Elements Inks were brushed over the Abundance Stencil 85 by AALL and Create onto another piece of Mixed Media cardstock. Onyx Black VersaFine Ink by Tsukineko was used to stamp the peace sign from the Little Hippie Clear Stamp Set 511 and a sentiment from the Everyday Sentiments Clear Stamp Set 666 by Janet Klein for AALL and Create,

The shaker was assembled, adhered to the reserved stenciled background panel, then the Little Hippie was adhered as shown. 

The background was matted with black glitter cardstock, then adhered to a white 6" square card.

Please visit my blog, Kat's Tales of Stamping, for more detailed instructions and complete supply lists.

01 09 10