Wednesday, November 20, 2019

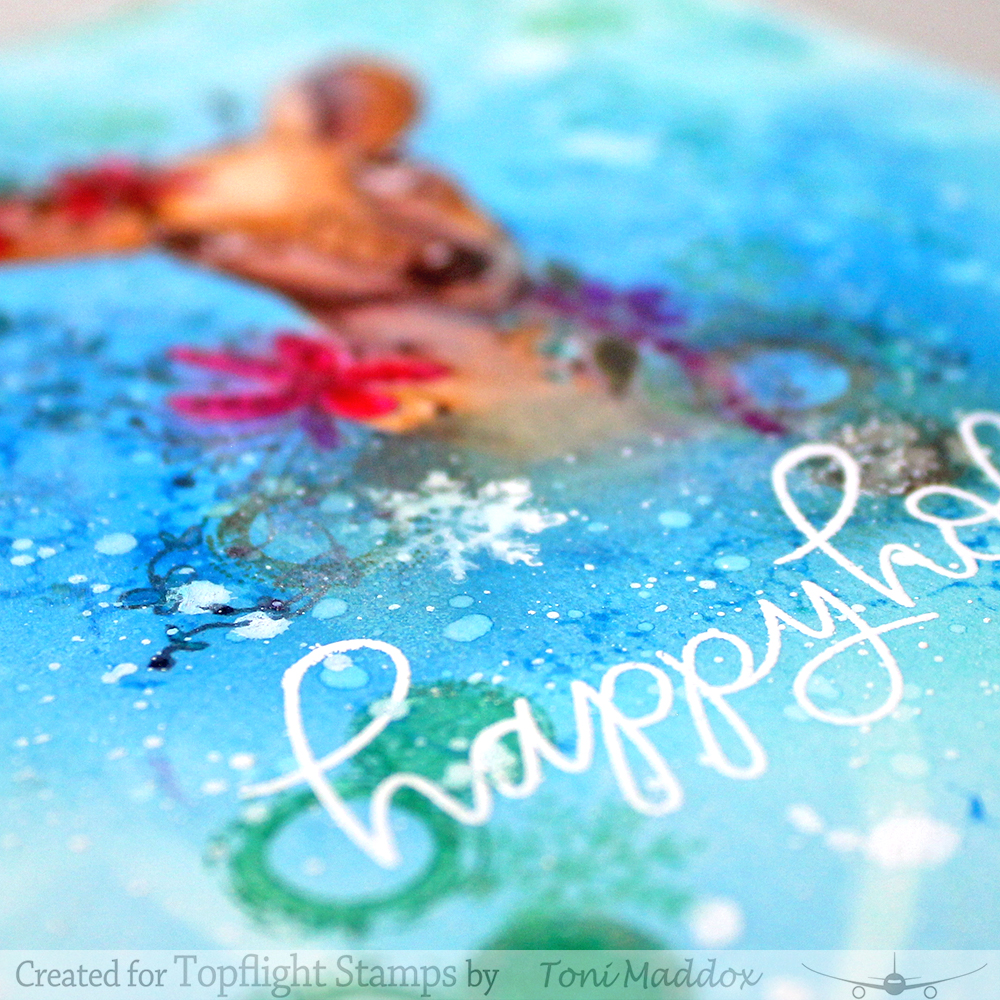
Magical Holiday Deer


Oh, my goodness.  Isn't this Aall and Create Deer dreamy? I absolutely love it and am going to have a hard time sending this card out for the holidays.


I stamped and watercolored the Aall and Create Deer.  After masking the deer, I sponging Distress Oxide Salty Ocean and spattered a bit of water. Noticed I used the PaperArtsy JOFY PS147 Stencil a bit too.


I love the swirls--snow and wind come to mind here.


I used Distress Oxide Peacock Feathers and Evergreen Bough with Creative Expressions Enigma (icicles), Aall and Create Textures #50, and Polkadoodles Birds Together for additional interest.


I added some snowflakes from Visible Image Snowman Jack with white pigment ink and Distress Oxide Evergreen Bough. I spattered a bit of Copic Opaque White too.


So very dreamy. Magical, really.


If you'd like to check out my other creations, you can visit my blog, Frankie Helps Craft, my Instagram, or my Pinterest Board.

Have a great rest of your week!

Tuesday, November 19, 2019

Take the Path Less Travelled


Hello everyone!  Betsy here on the blog today.  I hope you've all had a great week!  
Today I'm bringing you a card featuring :
Art by Marlene by Studio Light "Little Ladies"


I also used:


I started my project by using the stencil on a panel of white A2 size card stock with Metallic Gilding Polish in Golden Olive.  Once that was dry I stamped the decorative elements. 


I next stamped the little girl with hybrid black ink and colored her with Copic markers.  I added shimmer to the wings and also doodled in them with a fine line black pen, then added dots with a white gel pen.  Next I fussy cut her out.
I covered a white A2 size top folding card and adhered my background paper to it.  I heat embossed in white my chosen sentiment.


My background paper was heavily textured.  When I heat embossed it, there were definitely missed places where the ink didn't stamp.  I was able to fill those in with a white gel pen.

It was time to assemble my card.  I really didn't like the way the stenciled background looked behind the little girl, so I die cut a 3 1/2" circle out of it and used it instead.  
It really put the focus on the little girl.
I popped her up on foam tape on top of the circle and added some gems.  And that finished my card!


Topflight Stamps supplies used:


Other supplies used:

Copic Markers
White A2 size top folding card base
Background paper
White card stock panel
Black hybrid ink
Fine line black marker
White gel pen
3 1/2" circle die
Metallic Gilding Polish - Golden Olive
Shimmer pen/Liquid Stardust
Gems
Foam tape

Thank you for stopping by today!

For a more detailed tutorial on this card, please stop by my blog:
https://caringheartcards.blogspot.com


Monday, November 18, 2019

On the Farm Birthday Card with Hobby Art

Hello there, happy Monday! Lisa Hoel here to share a Topflight Stamps card with you. It's one I made for my mother-in-law and she loved it. =) (She is a big fan of barns and other farm themed things.)


I used the Hobby Art stamp set On the Farm to create this scene. It is a set with a multitude of detailed parts that you can arrange just as you wish:


I also used the Darkroom Door Happy Birthday Sentiment Stamps for the happy birthday sentiment. (That is a handy stamp set to have for sure!)


I stamped the scene using archival black ink and then used watercolors to color it. I'm really pleased with how it turned out. 

Thanks for stopping by and have a great week!!


Topflight Stamps Products:

Hobby Art stamp set - On the Farm
Darkroom Door stamp set - Happy Birthday Sentiment Stamps

Friday, November 15, 2019

Christmas Baubles

Happy Friday! Our weather here in Houston, TX has finally turned chilly and its feeling a little more like winter. Today, I'm playing with this beautiful set called Baubles from Pink Ink Design.


This set has a variety of beautiful ornaments that are perfect for any type of Christmas card.


I chose the biggest stamp in the set which is large enough to cover an A2 card.


I can't wait to use this set to create more Christmas cards. For more details on how I created this card, stop by my blog Strangely Creative.


I hope you have a great weekend and thanks for stopping by!

Thursday, November 14, 2019

Season's Greetings Canvas


Hello to all my crafty friends! Mary here with my 2nd November Guest Designer for Topflight Stamps Blog post.  

Today, I have for you a small holiday canvas using a Carabelle Studio Christmas Tree Stamp , a Visible Image- Go To Christmas Words stamp and a Lavinia Stamps Icicles stamp to create this wintery scene. 


I started off with a 4x5 canvas, collaging ripped snowflake/ woodgrain paper onto it with collage medium.  Then I pushed glass bead gel through a random dots stencil and put it aside to dry.


While waiting for the glass bead gel to dry, I stamped the Christmas tree onto four different green scrapbook papers using black ink, cut them apart into sections, and glued them onto a piece of kraft paper into multi-colored trees.   I cut out some tree trunks from the left over kraft paper and glued them onto the trees.  I edged the trees with brown distress ink for a more finished look.

Then, I stamped the icicle stamp onto gray/blue paper with embossing ink, poured silver glittery embossing powder over top of the images and heat the powder to set.  I fussy cut them out after they cooled down a bit.


After the glass bead gel dried, I scraped snowflake paste onto the bottom of the canvas to make some snow and glued down the icicles at the top of the canvas.  I then filled in the gaps between the icicles with more embossing ink and silver glittery embossing powder, heating it to set. I then set it aside to dry again.


After the snowflake paste dried, I secured the trees to the canvas with foam tape to give them dimension and then splattered some white acrylic paint so it looked like it was snowing.


I stamped the sentiment onto green scrapbook paper with black ink, fussy cut it out, then secured it down with foam tape also. 

To embellish the trees a bit more, I cut four stars from a string of dimensional stars and glued them on top of the trees. 

I felt like the snow at the bottom of the canvas needed a little help matching the icicles, so I painted the paste with white paint, and then used gray/blue distress in the shadows to create some cohesion with the top of the piece. 

The last thing I did was to paint the edges and sides with a gold paint pen to create a finished look.


I hope this canvas gets you in the mood to create some fun holiday crafts!  

Here are the stamps I used:


Find me on social media as Motley Mixed Media on Instagram, Facebook and YouTube. 


Wednesday, November 13, 2019

O Christmas Trees


Hello, Topflight Fans!  Today I'm using the For the Love of Stamps O Christmas Tree set to create 3 different Christmas cards that are really quick to make, which is exactly what I need during this busy holiday card making season.


For the sparkle and shine card I sponged the card front with Distress Oxide Wilted Violet and Peacock Feathers as well as Prism Ink Wild Mushroom and the Darkroom Door Mixed Boxes Stencil.


I stamped the tree and sentiment using Versafine Onyx Black. That gold background?  I used Deco Foil spray and Deco gold foil with my laminator.


For my second card, I used some leftovers, including the plaid background (Distress Oxide Peacock Feathers) and panel stamped with Ultimate Crafts Fractal Snowflakes and white pigment ink.


I used Prism Ink Red Chili for the tree and Prism Ink Roasted Coffee for the sentiment.


My final card uses the last of the For the Love of Stamps O Christmas Tree images, stamped in Versamark and embossed with Ranger White Detail Fine Embossing Powder on a panel I had sponged with Distress Oxide Wilted Violet and Peacock Feathers.

The background uses the Ultimate Crafts Fractal Snowflakes and a variety of Distress Oxides randomly stamped on there.


If you'd like to check out my other creations, you can visit my blog, Frankie Helps Craft, my Instagram, or my Pinterest Board. 

Tuesday, November 12, 2019

Snow is Falling...


Hello everyone!  Betsy on the blog here today....you know it's coming...SNOW!  Actually as I was making this card it was snowing outside my window!

I am using this Visible Image card: "Snow Is Falling"


I love the look of spontaneity that marks the Visible Image style and this stamp set does not disappoint.  It's also a very uncomplicated card that could easily be mass produced...just in case you were making a ton of winter cards!

I first cut my background paper to 4" x 5 1/4".  I heat embossed the large snowflake in white 
on the upper portion of the panel.


I then die cut a small strip of white for the ground using a stitched die and
 heat embossed in navy the sentiment.  Then I adhered this to the bottom of my card.


I added tiny clay snowflakes and used my shimmer pen for added sparkle.


I covered the base of my white top folding A2 size card base with a panel of navy blue and
the mounted my finished panel on top.
And that finished my card!  How easy and not very many steps!

Topflight Stamps Products Used:


Other Products Used:

White Top Folding A2 size card base
Navy Card Stock
Patterned Paper
Scrap white card stock
White & Navy Embossing Powders
Shimmer Pen
Snow Sequins/clay bits
Stitched cutting die

For a more detailed tutorial on this project please visit my blog at:

Thank you for stopping by!
Betsy


01 09 10