Wednesday, November 24, 2021

Christmas Tags Made with Paper Scraps

Hi, Connie here with some Christmas gift tags made with
leftover paper scraps from projects I have created for Topflight Stamps.
I started by going through my leftover project box and pulled  out 
anything cute :):) and stamped well.
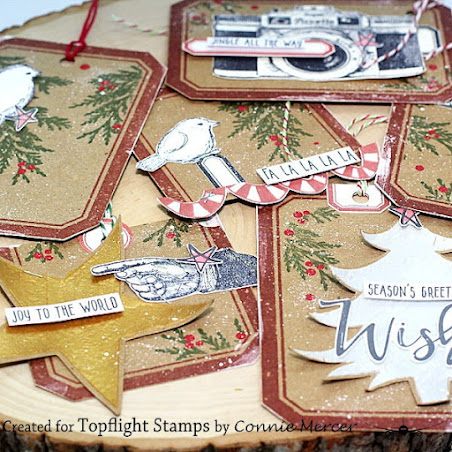

These were created quickly because I was just assembling all the
stamping, texturizing, coloring that had already been done.
  I might add it felt good  to use these bits and pieces :).
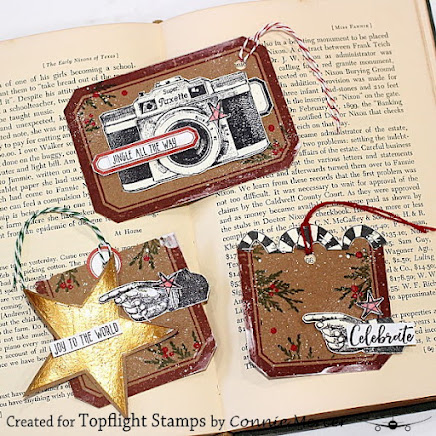

The base for the tags is the Vintage Label by Darkroom Door. I stamped
some greenery on each tag and added berries with acrylic paint.
I started adding the bits and pieces (stapled on), added a stamped
Holiday sentiment and punched a hole for twine.


Some of the items, that are used to create the tags with, are no longer
in stock. I will list them at the bottom. But this post is more about 
using project leftovers for tags or cards.  No
waste!!

Products used:
Other products are either out of stock or discontinued, like
I said this about using those scraps!

Darkroom Door:  Labels, Birthday Greetings, Pine Leaf, 
Small Stencil/Tree.
Carabelle Studio: Parci/Pointing Finger

Thanks for stopping by~
Connie Mercer/DT Member 

Tuesday, November 23, 2021

Penguin Gift Card Wallet!

 It's Tuesday, so it's Kathi here to share a project with you. This week my teammates and I are creating gift tags or gift card holders. I have two family birthdays, Chanukah, and Christmas coming up, so this was a timely and useful topic for me!


Here's the outside of the gift card wallet.


Here's the inside of the gift card wallet, complete with a white cat fur on the Amazon gift card! 


For the outside of the gift card wallet, the penguin and the gift pile were stamped onto white card and masked. Periwinkle Prism ink was brushed over the Snowflakes stencil, one of the four stencils included in the Scenic Winter Layering Stencil Set by Polkadoodles, and the flattish mask from the Acrylic Hills Mask Stencils by Lavinia Stamps. Once I was happy with the coverage, Snowflake Fresco Chalk Finish Acrylic Paint by PaperArtsy was splatted overtop to create a snowy sky.

The masks were lifted and the images were colored with Copic markers. 

For the inside of the gift card wallet, Periwinkle Prism ink was again brushed over white cardstock, then splatted with Snowflake Fresco Chalk Finish Acrylic Paint. The penguin was stamped, colored, fussy-cut, and edged with a dark marker, then adhered onto a snowy slope.

Please visit my blog, Kat's Tales of Stamping, for complete supply lists and instructions.

Topflight Stamps Products Used:


Thanks for visiting today!

Monday, November 22, 2021

Gift Tags & Decor Ideas

 Hello Topflight Stamp Fans, Karen Bearse here today making gift tags & with a wonderful Winter decor idea. This week the Design Team is making all things holiday gift & decor related. I hope you check back often! If you want to see how my tag below was made check out the full tutorial here. 

 Here is the tag I came up with after multiple attempts to adhere chunky embossing powder to the detailed Snow Flake stamp. Let's see what other products were used. 


 Did you know we are having a sale? This is the perfect time to pick up a little something, something for your Christmas list & grab some of your wish list too!

If you love winter this is a must have background stamp by Darkroom Door. 


 The Sentiment was from another must have set- Merry Mail. 


 Of course I love all things embossing & in the end went with the tag that had Blue Moon by Seth Apter for Wow.


 I love the look of Glimmer Mist & this was used for the banner color, lots of shimmer wonderful shine.

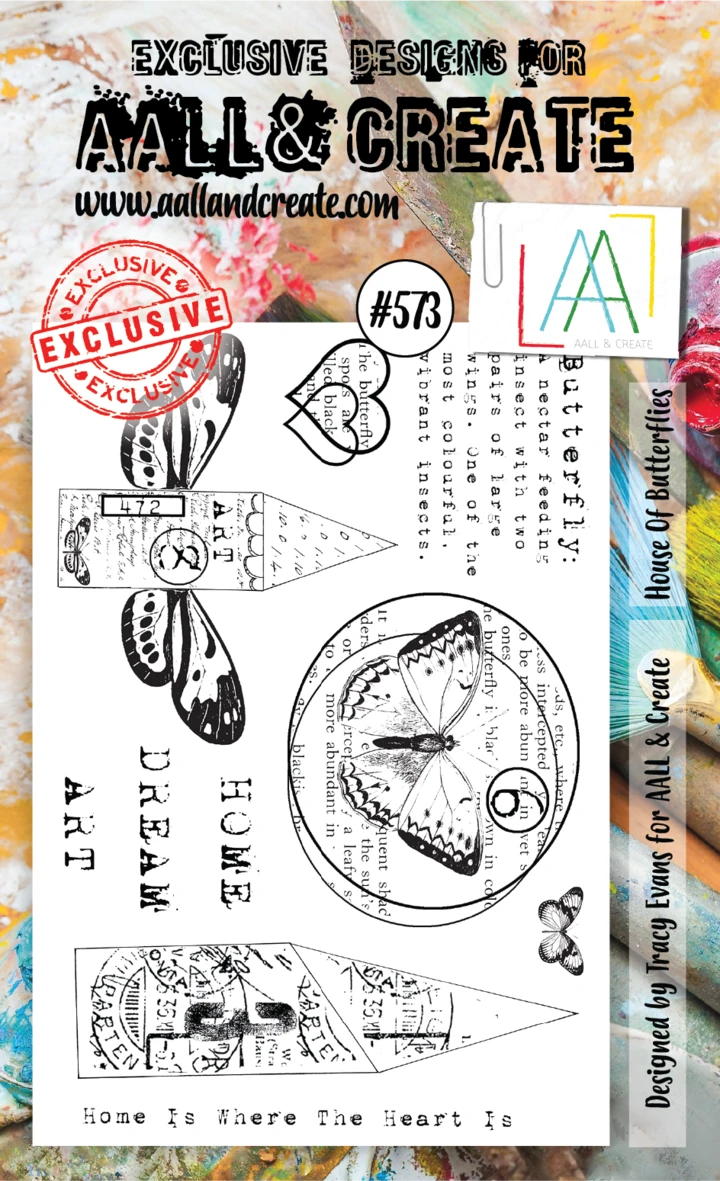
My focal image is one of the newest releases from Tracy Evans for AALL & Create. I just love that this house image can give my tag a vintage, cool vibe. House of Butterflies welcome to the world! 

I also have an idea using Stamperia's Winter Tales paper pad in that blog post. Super easy way to make gift tags. 

Here is a wonderful, Winter decor item that can be made using products from the bundle. You can see the tutorial here. That is it for this week! I hope you get the chance to get inky.

Friday, November 19, 2021

PaperArtsy Coffee Time


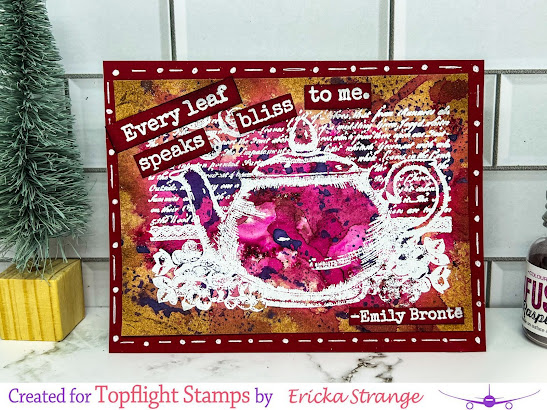
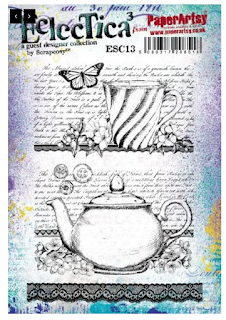
Happy Friday! Ericka here, and today is the last day of the 2021 Fall /Winter Coffee Lovers Blog Hop and I have one more coffee/tea card using the PaperArtsy Scrapcosy 13 set. Don't forget to check out the last day of the sale today.

 All our Coffee/Tea/Coca category is 20% off! 

Discounts will be automatically applied on checkout.

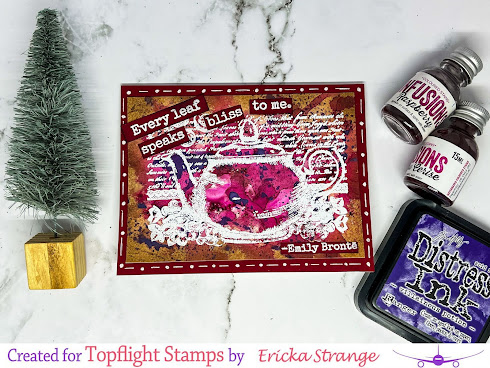
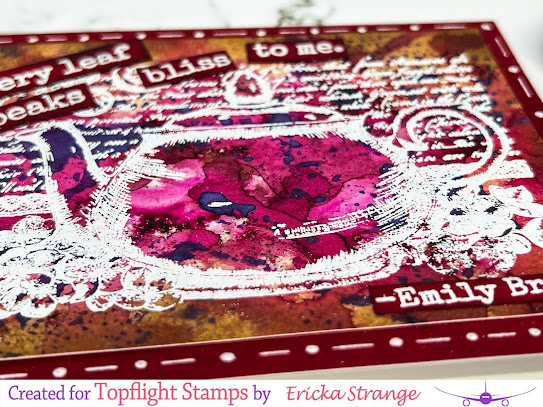
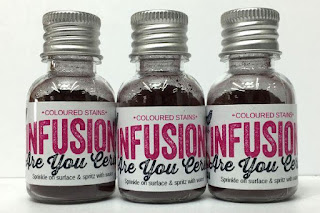
I started out with the PaperArtsy Infusions in Raspberry and Cerise and moved the color around until I liked. I then smooshed some Distress Ink in Villainous Potion on my craft mat and added a little purple to my background. I blended the edges with Ground Espresso Distress ink for a darker edge.

I then stamped the image and white heat embossed it. I added the sentiment from the PaperArtsy Sara Naumann 41 set and added it to my card. To finish my card, I added some white gel pen around the edge of my card.


Thanks for stopping by and I hope you have a wonderful weekend.


Topflight Stamps is also having a special SALE just for you.

  • Receive the 20% off discount at checkout
  • Discount only applies to the Coffee/Tea/Cocoa Category only.
  • Cannot be used on previous purchases or added after checkout.


Discount code can be used Nov. 11 and ends Nov. 19th at midnight.

The hop is from Friday, November 11-19, 2021.


Topflight Stamp Supplies


Thursday, November 18, 2021

Autumnal Christmas with Carabelle Studio

      Hi Everyone,

Cornelia here today! 
This week it's anything goes. A good way to increase my Christmas card pile!


Honestly I really thought that part of the stamp set is Christmassy, although if you look closely it's really more autumn.....Oh well, too late, it's now a Christmas card. just don't analyze those leaves too closely. The red berries are Christmassy enough.
I colored with water colors and water based markers. Added crystal lacquer to the berries. I like that stuff better than glossy accents. It doesn't clog up the bottle immediately. I also added generous gold splatters. The sentiment is heat embossed. I also added a little bell on a red thread.


I hope you liked this. Thanks for visiting. 
See you next week with more Topflight Stamps inspiration.
And here are the stamp supplies I used:
 

Wednesday, November 17, 2021

Falling Snowflakes Border by Darkroom Door

Hi, Connie here with two cards created using the NEW 
Falling Snowflakes Border Stamp by Darkroom Door.  I also
threw in a couple stencils. They make a great focal image
for your cards.


This first thing to do is the part that will the longest to do :):) and 
that is the embossing of the snowflakes.  I used Distress Oxide inks and 
created a light dark background using blue color tones.  Then I embossed
the Snowflakes with WOW / Opaque Bright White embossing powder. 
Then I tore the paper making two borders.  They are long like the stamp
so you will have enough embossed snowflake paper to make two cards.


Once you have your border pieces ready just set them aside
and stamp the words (center) using the Christmas
Word Block Stamp.  I stamped the center section using 
Distress Oxide / Prize Ribbon.  Love the color!!
The center section was adhered to a folded white card
base and then the border pieces were added with
dimensional adhesive.  Next step~


Stencil the focal images with the same ink you used for the 
Word block Stamp. Trim it out and add to the card front with
dimensional adhesive.  Emboss the sentiment and add it to the 
card front to complete the card.


One more thing ~ add the Made For You By stamp to the
back of your cards and be sure to sign your name.  That's
the BEST part.

Products used:


WOW Embossing Powder/Opaque Bright White

Thanks for stopping by~
Connie Mercer/DT Member

Tuesday, November 16, 2021

Fall/Winter Coffee Lovers Blog Hop!


Topflight Stamps is one of the sponsors of the 2021 Fall /Winter Coffee Lovers Blog Hop and is offering a $25 gift card. Make sure to hop along with us all and make link up your coffee themed card on the Coffee Loving Cardmakers blog HERE.

It's Tuesday, so it's Kathi here to share a project with you so I figured I might as well make a coffee- themed card!

Here's my card created with the rabbit from the Caffeine Cling Mounted Rubber Stamp Set by Marty Crouz for Carabelle Studio.


To create the image panel, the rabbit from the Caffeine Cling Mounted Rubber Stamp Set by Marty Crouz was stamped onto white card and onto label paper, which was fussy-cut to be used as a mask.

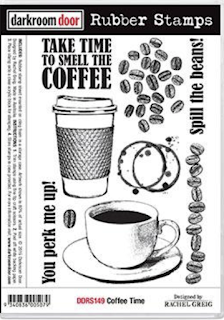
The image panel's background was added with Distress inks, misted with water, then heat set. The coffee ring stamp from the Coffee Time Red Rubber Cling Stamp Set by Darkroom Door was stamped multiple times with Roasted Coffee Prism Ink by Hunkydory Crafts.

Roasted Coffee Prism Ink was brushed over the Coffee Beans 6x6 Stencil by Paper Rose onto ancient wood grained patterned paper. A good current alternative would be wood-grained patterned paper from the White Wood Patterned Paper Pad by Paper Favourites, Distressed Wood Patterned Paper Pad by Paper Favourites, or the multi-colored Wood Patterned Paper Pad by Paper Favourites. 

A sentiment from the Fun Quotes Unmounted Rubber Stamp Set by Katzelkraft was stamped with Roasted Coffee Prism Ink onto a piece of the same ancient patterned paper, then cut apart to make it fit!

Please visit my blog, Kat's Tales of Stamping, for the complete supply lists and more detailed instructions. 

Topflight Stamps Products Used:


Thanks for visiting today!

01 09 10