
Greetings! It's Tuesday so you've got Kathi here to share a project with you. This week my teammates and I are showcasing Jane's Doodles Clear Stamps, which are absolutely wonderful.
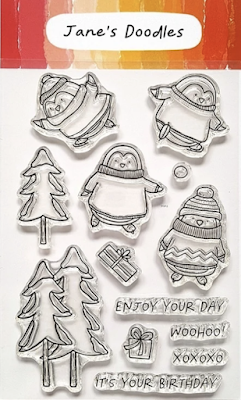
I love penguins, so I was delighted to find that there were two sets in the range. I decided to use the absolutely adorable Sweater Weather Clear Stamp Set to create a shaker card.
Here it is!

To create a scene with the penguins holding hands while skating, I stamped the middle penguin onto a white cardstock panel and onto repositionable label paper, which was fussy-cut, then placed over him. The penguins on the right and left were stamped onto the image panel and onto repositionable label paper, which was fussy-cut and used to mask them.
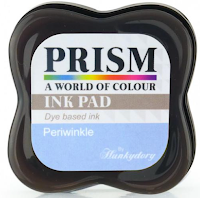
I cut a wavy border onto copy paper, then brushed Periwinkle Prism Ink by Hunkydory Crafts overtop.
A grey Copic marker was used to trace the outside of an elongated oval die to create the skating rink.
The masks were lifted and retained for later use and the images were colored with Copic markers. Grey Copic markers were used to add detail and dimension to the snow and ice, then Frost Shimmer dauber was applied to the ice rink using a paint brush. More glittery accents were added with a clear glitter pen, then the image panel was set aside.
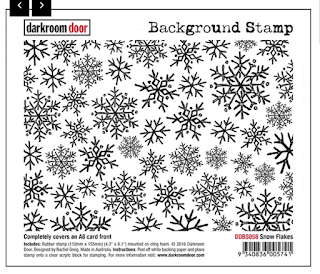
VersaMark ink was used to stamp the Snowflakes Background Stamp by Darkroom Door onto blue cardstock, then white and sparkly white embossing powder was heat set.
The snowflake background panel was trimmed, die-cut, then the aperture and the panel's edges were sponged with VersaMark, then the same embossing powder was heat set.
The Frost Shimmer Dauber was applied to a white cardstock banner and heat set. The sentiment was stamped using Paradise VersaFine Clair Ink by Tsukineko, heat set, and adhered to the image panel with dimensional foam in the center, and glue at the ends.
Acetate was adhered to the back of the background panel to cover the aperture. 3D Adhesive Foam Roll by Hunkydory Crafts was applied to the perimeter of the window to create a well for the shaker contents, which were added.
The image panel was adhered to the background panel to seal the aperture, then added to an A6 card.
Please pop over to my blog, Kat's Tales of Stamping, for more detailed instructions and complete supply lists.
Topflight Stamps Products Used:


Thanks for visiting today! See you soon!
No comments:
Post a Comment